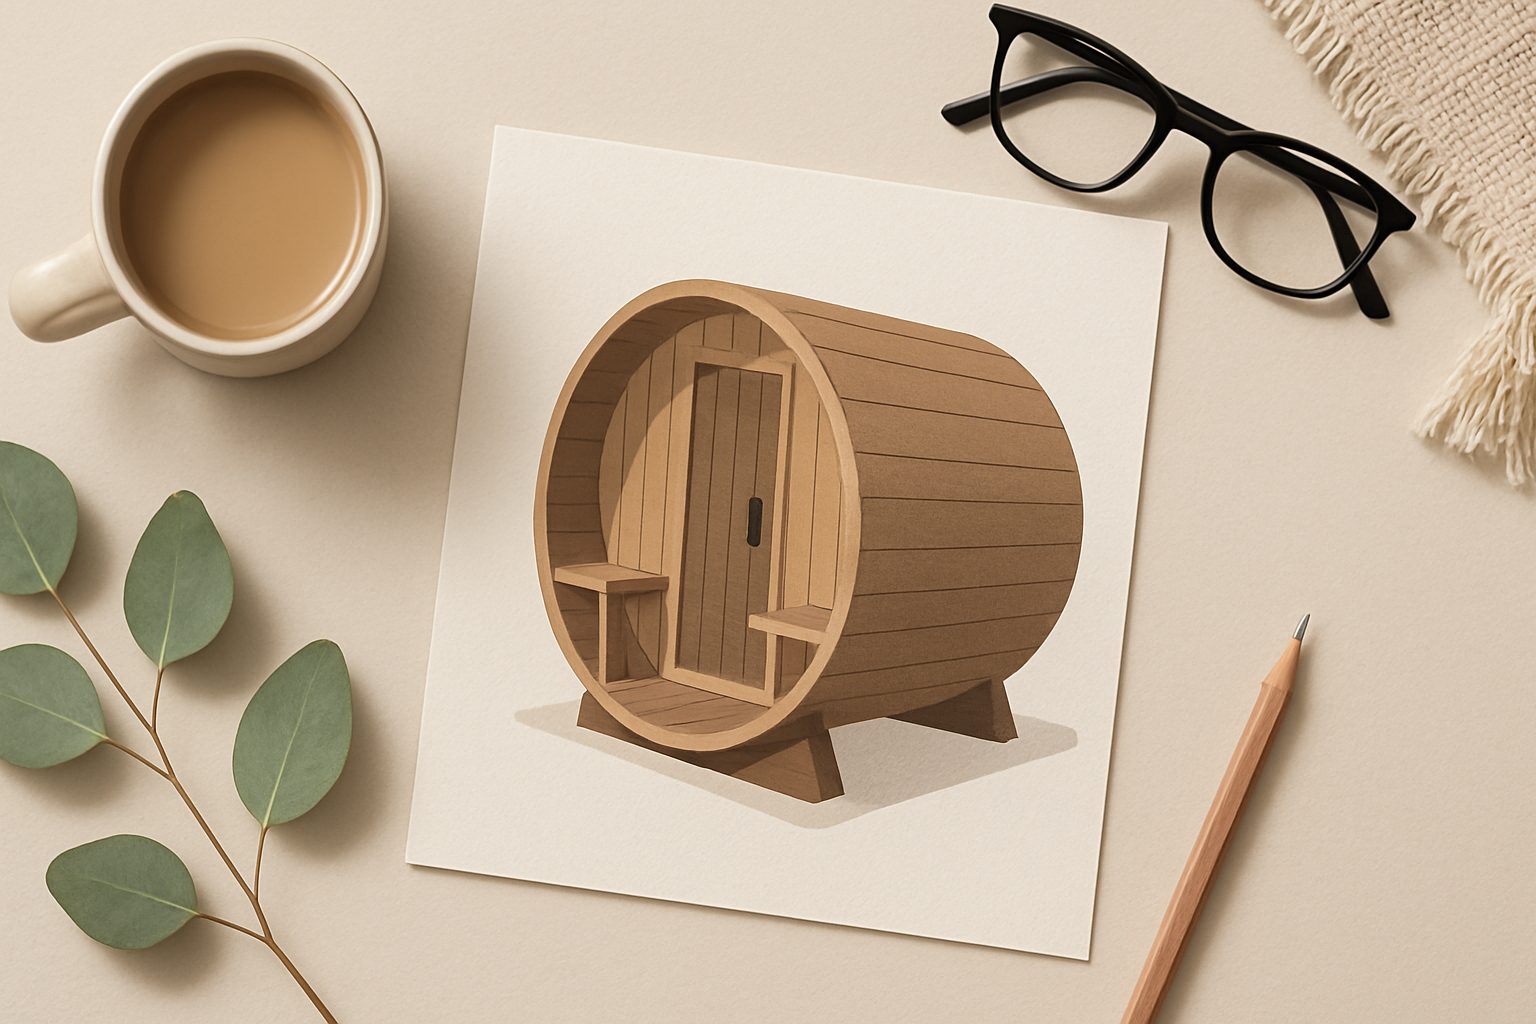
How to Install a Barrel Sauna in Your UK Garden: Step-by-Step Guide
Installing a barrel sauna in your garden is achievable as a weekend project if you plan carefully and follow a logical sequence. The key is getting the foundation right—everything else builds on that. Here's what you need to know.
Preparation: Site Selection and Groundwork
Choose a level spot in your garden with good drainage. Avoid areas that collect water in heavy rain, as standing moisture will damage the wooden base and accelerate rot. If your garden slopes, you'll need to level it—a task worth doing properly rather than rushing.
For a typical 2-metre barrel sauna, you'll need a footprint of roughly 2.5 by 3 metres, including access space. Ensure the site is at least 2 metres from any boundary fencing and free of overhanging branches.
Clear the area of grass and weeds. If you're installing during winter or early spring, the ground may be waterlogged—wait until it's had a few dry days, or your foundation will be uneven. Compacted earth alone isn't sufficient; you need a proper base.
Creating a Level Base
The most reliable approach is a concrete foundation, though gravel and timber are cheaper alternatives if the ground is already well-drained.
Concrete base: Excavate 150mm deep across your footprint, compact the soil, add 100mm of hardcore (rubble), then pour 100mm of concrete. This takes 3–4 days to cure fully, so plan ahead. You'll need roughly 1 cubic metre of concrete. Ensure it slopes very slightly away from where the sauna will sit—just 5mm over 2 metres—for water run-off.
Gravel and timber base: Lay landscape fabric to suppress weeds, add 150mm of compacted gravel, then set four timber beams (100 × 100mm treated wood) as a frame. Use a spirit level religiously throughout—barrel saunas are unforgiving about level surfaces. Even 20mm variance across a 2-metre length will cause stress on the wooden joints.
Concrete is slower but more durable. Gravel requires maintenance as it settles over time.
Assembly Sequence
Once your base is set, the actual assembly is straightforward if you follow the manufacturer's instructions (they vary between models). Most barrels arrive in sections.
Order of assembly:
- Position the base or foundation rails squarely on your level surface
- Attach the first stave section, securing bolts hand-tight only—don't fully torque them yet
- Add successive sections, working your way around the barrel
- Insert internal bracing or tension cables (if your model uses them)
- Once all sections are loosely connected, go around methodically tightening bolts in a crisscross pattern (like wheel nuts), increasing tension gradually over two or three passes
This prevents uneven stress and warping. Rushing to full tightness on the first pass is a common mistake that can damage the wood.
Access and Ventilation
Position your barrel so the access door faces away from prevailing winds (south or east in most UK locations). This keeps the entry area drier and reduces draughts into the interior.
Ensure your site allows proper air circulation underneath the barrel. If you've used a concrete base, you may need to create a slight gap (25–50mm) using timber shims on one or two sides to allow air flow and prevent moisture pooling. Without this, the underside of the barrel will stay damp and deteriorate faster.
Wood-Fired vs. Electric
Wood-fired heaters sit inside the barrel on a stone or metal platform. You'll need to check local planning and building regulations—many councils require registration, and some prohibit or restrict wood-burning in certain areas. Chimney placement is critical: it must be at least 1.5 metres above the roof line to draw properly and to keep sparks and smoke away from neighbours.
Wood-fired saunas are slower to heat (45–90 minutes) but cheaper to run and have no electrical dependency. You will need to install a thermometer and ensure proper ventilation through a vent hole.
Electric heaters mount on the wall and require an installed circuit, ideally 32-amp if your model demands it. Run power via an outdoor-rated conduit. Electric heaters heat faster (20–30 minutes) and offer temperature control, but they increase running costs and require professional installation if you're not confident with electrics. Most installers charge £150–300 for a safe setup.
Decide before assembly, as the internal layout differs.
Sealing and Finishing
Once assembled, apply a water-repellent sealant to the exterior. Use products specifically designed for exterior wooden barrels—standard wood stain often isn't water-resistant enough for the UK climate. Cedar and other softwoods common in barrel saunas benefit from annual resealing, especially on the roof.
Interior surfaces usually need minimal treatment, though some people apply a light wood oil to the benches for easier cleaning.
Install proper guttering or a roof extension on the uphill side to shed water away. Without this, rain will run down the barrel surface and into the base, causing rot at the timber junction.
Final Checks
Before lighting or heating your sauna:
- Tighten all bolts one final time after a few days' settling
- Test the door seal with the hose—no water should enter through cracks when the door is shut
- For wood-fired models, ensure the chimney draw by starting a small fire and watching smoke exit cleanly
- For electric models, have the circuit tested by a qualified electrician
Level barrel saunas in UK gardens typically last 10–15 years with sensible maintenance—more if you're diligent about resealing.
More options
- Dundalk LeisureCraft Barrel Saunas (Amazon UK)
- Harvia Sauna Heaters and Stoves (Amazon UK)
- Sauna Bucket and Ladle Accessory Sets (Amazon UK)
- Outdoor Sauna Cover and Weather Protection (Amazon UK)
- Barrel Sauna Self-Build Kit (Amazon UK)