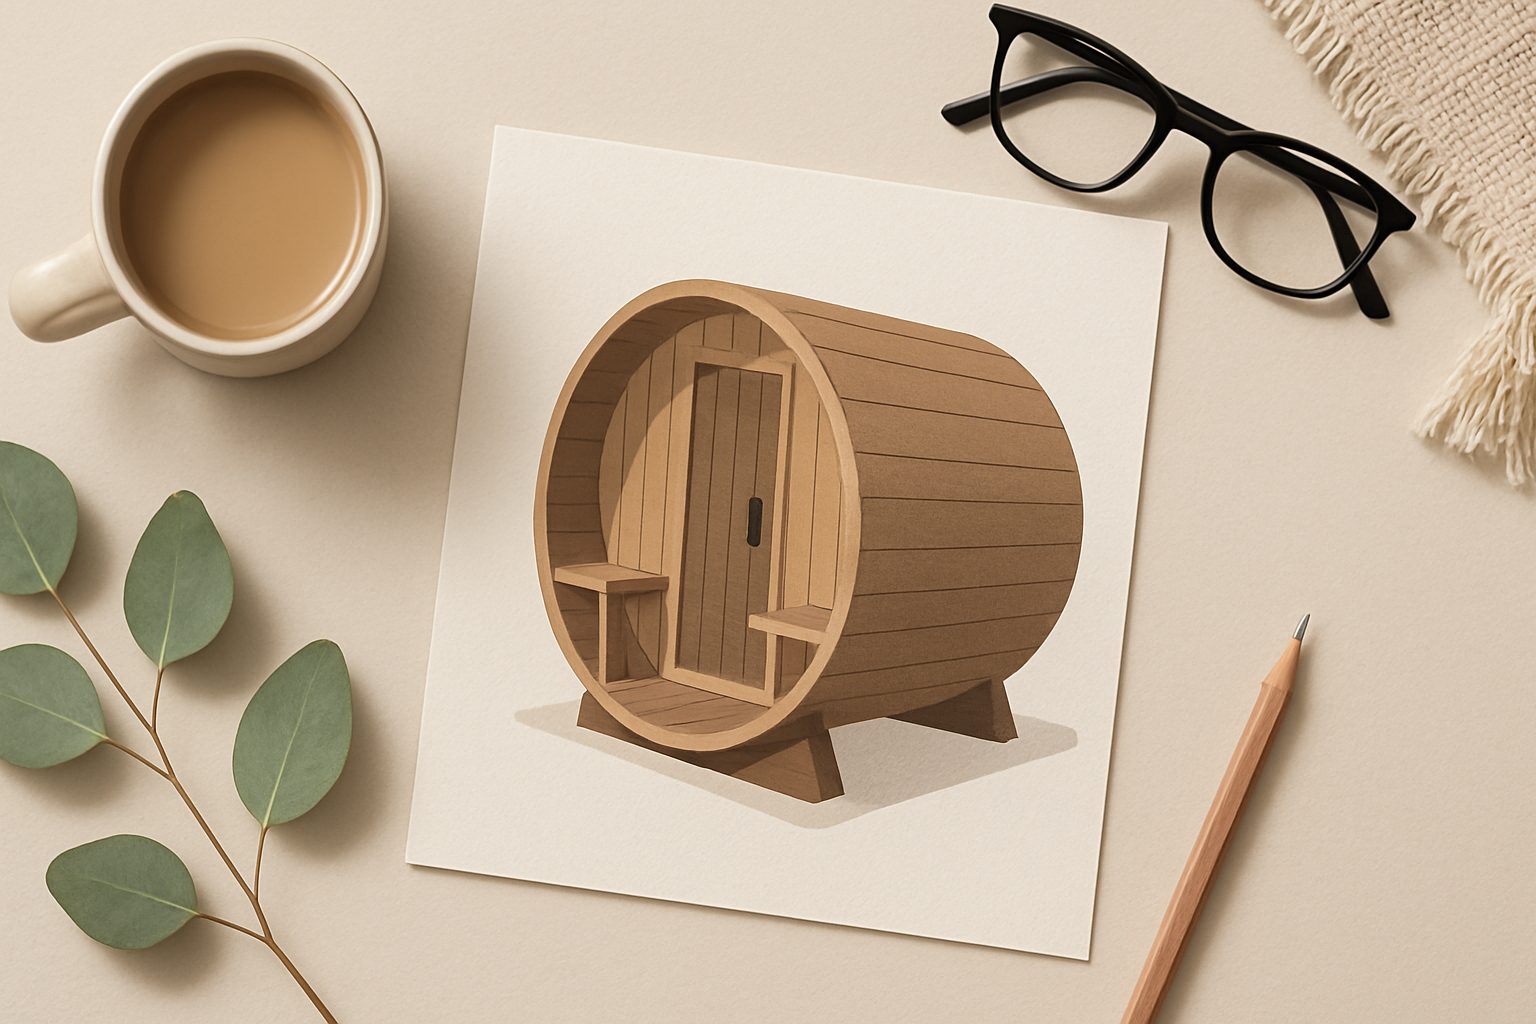
How to Winterise Your Outdoor Barrel Sauna for UK Winters
If you've invested in an outdoor barrel sauna, the British winter poses a genuine threat to its longevity. Freezing temperatures, prolonged damp, and ice expansion can damage water pipes, weaken wooden seals, and corrode metal components. Proper winterisation in autumn takes a few hours and can add years to your sauna's life—and save you from costly repairs come spring.
Why UK Winters Demand Preparation
Barrel saunas are designed to withstand cold, but the UK's specific climate challenges differ from the Scandinavian conditions these saunas originate from. Our winters rarely drop below freezing for sustained periods, but we rarely rise above it either. This means repeated freeze-thaw cycles that create genuine stress: water expands when it freezes, and if it's sitting in your plumbing, that expansion will crack pipes or push fittings apart.
Moisture is another culprit. UK winters are damp. Rain, condensation, and ground moisture can penetrate wood if not sealed and covered, leading to rot, mould, and warping—particularly at connection points and where the barrel meets the ground.
Drain All Water Systems
Your first task is complete drainage of any water in the sauna's plumbing. This is non-negotiable.
If you have an outdoor shower or rinse function attached to your sauna, locate the drainage points and open them fully. Run water through the system to push out any standing water in the pipes. Leave taps open.
For integrated heating systems with water circulation, consult your manual—some systems require you to drain a specific reservoir. If you're unsure, erring on the side of caution means opening every water outlet and leaving connections loose overnight to allow gravity drainage.
Don't overlook the obvious: empty any buckets, basins, or covers that might collect rainwater and refreeze inside the barrel. A single litre of water left to freeze can force internal damage you won't see until it thaws.
Protect the Exterior and Wood
Barrel saunas are typically made from untreated softwood—usually spruce or pine—which needs seasonal care. Before winter, give the exterior a visual inspection for cracks, splinters, or areas where wood has become greyed or discoloured, which signals weathering.
If the wood looks dry or weathered, apply a weather-resistant wood preservative or exterior wood stain designed for saunas. This isn't about aesthetics; it's about water repellence. A single coat of quality exterior treatment can significantly reduce water absorption over winter. Avoid heavy paint, which traps moisture. Use products that breathe.
Pay particular attention to:
- The wood around the door frame, where water pooling is most common
- The base where the barrel sits—water loves to collect here
- Any visible knots or grain patterns that are checked (cracked)
Insulation Wraps for Enhanced Protection
For saunas in exposed locations or those that will sit unused through winter, an insulation wrap provides genuine value. These breathable wraps are typically reflective on the outside (deflecting rain) and insulating within, creating a buffer against freeze-thaw stress.
Install a wrap according to its instructions, usually by draping and securing with straps. The goal is to keep the barrel's core warmer whilst letting moisture escape. A proper wrap won't trap condensation; poor installation will. Ensure ventilation gaps remain open at the bottom and, if your wrap has them, at the top.
If budget is tight, a basic weatherproof cover over the barrel's top half offers reasonable protection, though it won't address ground-level moisture.
Stove Maintenance and Chimney Care
Your sauna's stove requires its own winterisation check. If you haven't already, inspect the chimney and flue from outside. Check that:
- The chimney cap is in place and not corroded
- No vegetation or debris has accumulated
- The flue isn't damaged or leaning
Clear any blockages. Ice can form on the outside of a cold chimney, creating weight and potential collapse if you haven't used the sauna in weeks. A simple brush-out takes minutes.
For the stove itself, ensure any ash from previous use has been removed and disposed of. Damp ash left inside attracts moisture and can promote rust. If your stove has a door gasket, check that it seals properly; gaps allow heat loss and rain entry if the sauna sits cold.
Consider storing stove covers or temporary caps if you have them, though most barrel saunas' stoves are reasonably weatherproof by design.
Ground Clearance and Drainage
The single most common damage point is where the barrel meets damp ground. Before winter, clear any leaves, debris, or moss around the base. Ensure the ground slopes slightly away from the barrel so rainwater runs off rather than pooling underneath.
If your sauna sits on a pallet or sleepers, brush away accumulated dirt and leaves underneath. This keeps airflow intact and reduces moisture contact with the wood's underside.
If you notice pooling water near the sauna's location, consider creating a simple gravel trench or redirecting a downpipe to move water away. This is particularly important for saunas in dips or low-lying garden spots.
Cover Selection and Storage
A good weatherproof cover protects the top and sides without trapping moisture. Breathable polythene or canvas covers work better than solid plastic, which condenses moisture and holds it against the wood.
If you're removing your sauna for winter (uncommon but worth mentioning), drain it fully, protect it from contact with ground moisture, and store it in a ventilated space. This is a major undertaking and rarely necessary in the UK unless your sauna is relocated.
Final Checks Before Spring
In February or early March, before you're ready to use the sauna again, perform a quick walk-around: check that covers haven't blown free, that no debris has accumulated, and that there are no visible cracks or water damage. Run your fingers along the wood—it should feel dry, not soft or spongy.
Once temperatures are consistently above freezing and wood has dried, refill your water systems slowly, check all connections for leaks, and run your stove briefly before regular use. A few hours of winterisation work in autumn prevents far more costly repairs later.
More options
- Dundalk LeisureCraft Barrel Saunas (Amazon UK)
- Harvia Sauna Heaters and Stoves (Amazon UK)
- Sauna Bucket and Ladle Accessory Sets (Amazon UK)
- Outdoor Sauna Cover and Weather Protection (Amazon UK)
- Barrel Sauna Self-Build Kit (Amazon UK)